


333
before & after photo sets
Compare the starting point as carefully as the chin implant result.
 Sign in
Your private starting plan
Tell us what you’re considering once. We’ll organize relevant results, realistic planning details, and practices to explore.
Start your intakeNo account needed to begin. Nothing goes to a practice until you choose.













Compare the starting point as carefully as the chin implant result.
Use this range to plan. The surgeon, setting, materials, and personal treatment plan can move the quote.
Downtime is not the same as a settled result. Ask what changes early and what keeps evolving.
Active practices with chin implant photos published on Afters.
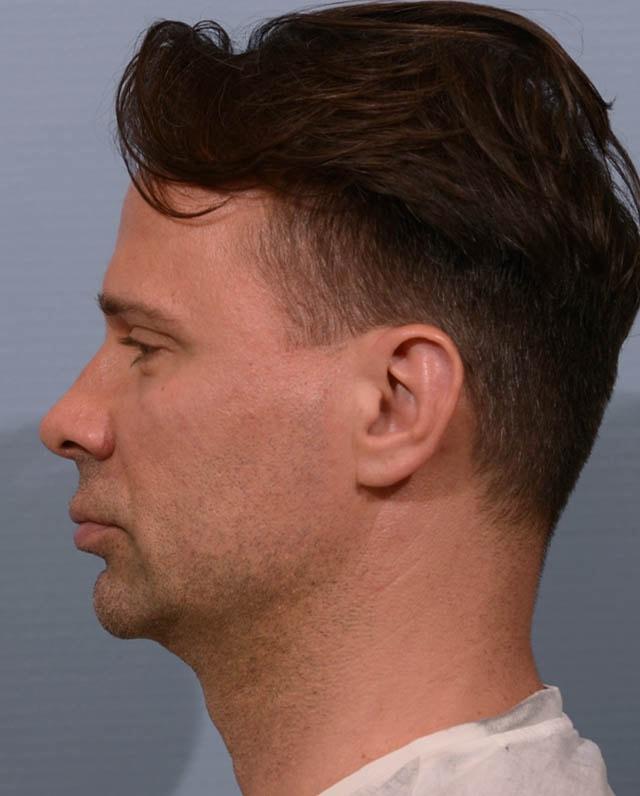
Begin with the before. Look for a starting point that resembles yours, then check the angle, lighting, timing, and practice that published the result.
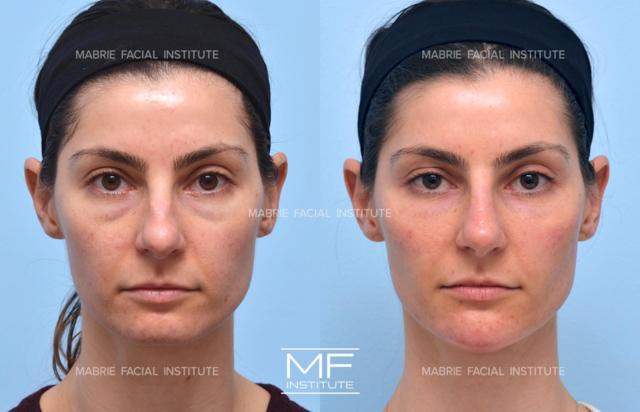 ResultMabrie Facial InstituteSan Francisco, CAPractice-published
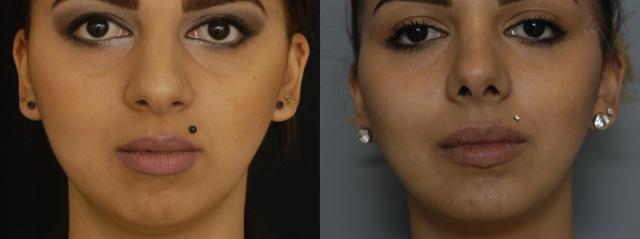 ResultArmen Vartany, MD, FACS: Plastic Surgery and Laser CenterBurbank, CAPractice-published
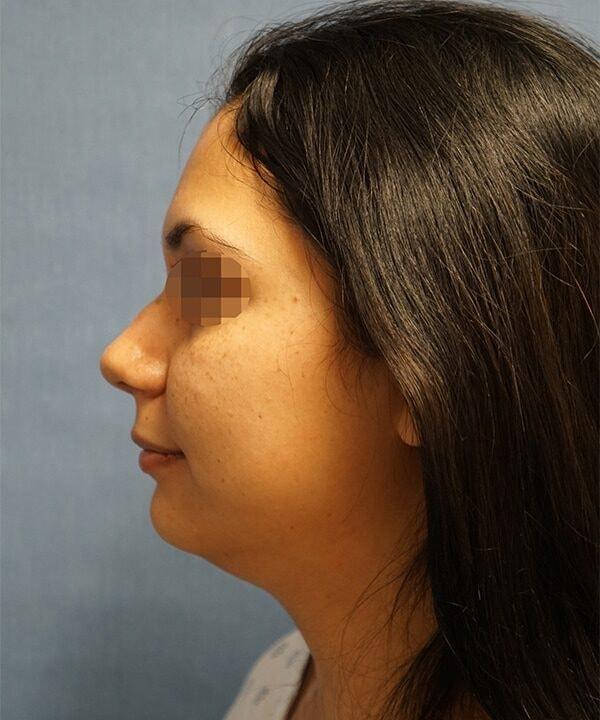 Before
 AfterHerte Center for Cosmetic SurgeryLas Vegas, NVPractice-published
 Before
 AfterYirae Ort MD Facial Aesthetic SurgeryBellevue, WAPractice-published
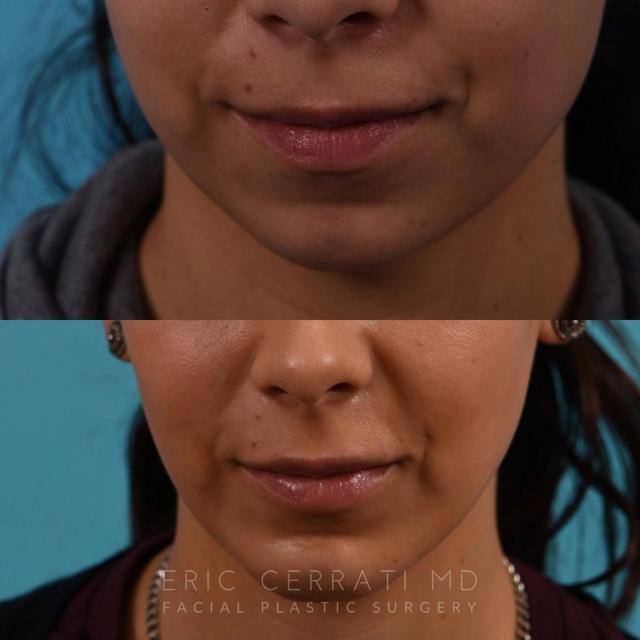 ResultEric W. Cerrati, MD, FACSSalt Lake City, UTPractice-published
 Before
 AfterUtah Facial Plastics & UFP Hair RestorationDraper, UTPractice-published
 Before
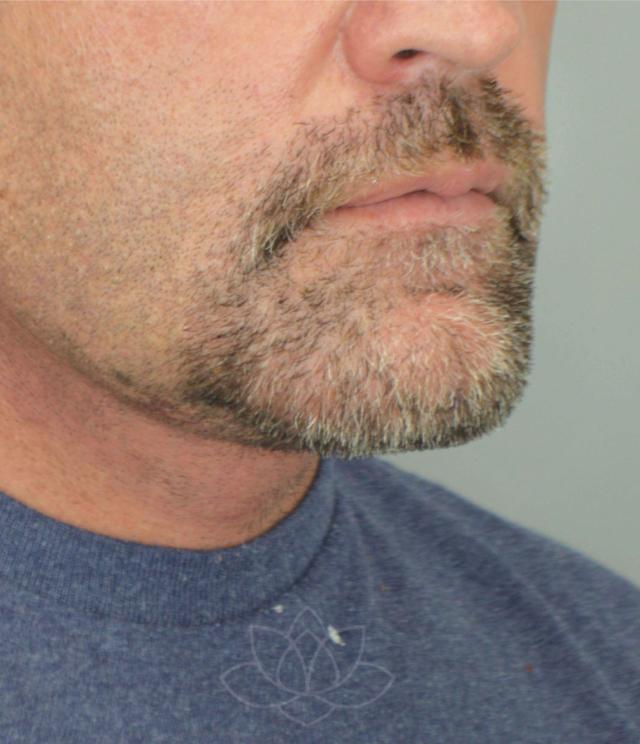 AfterJordan L. Wallin, MDSt. George, UTPractice-published
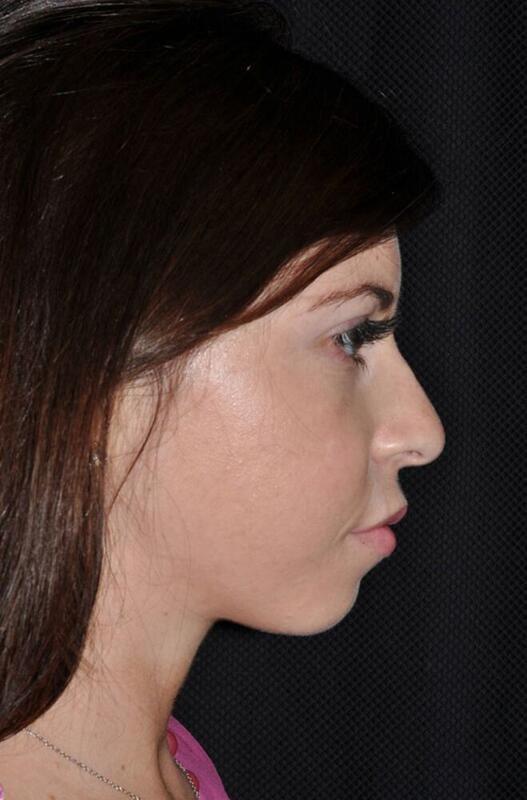 Before
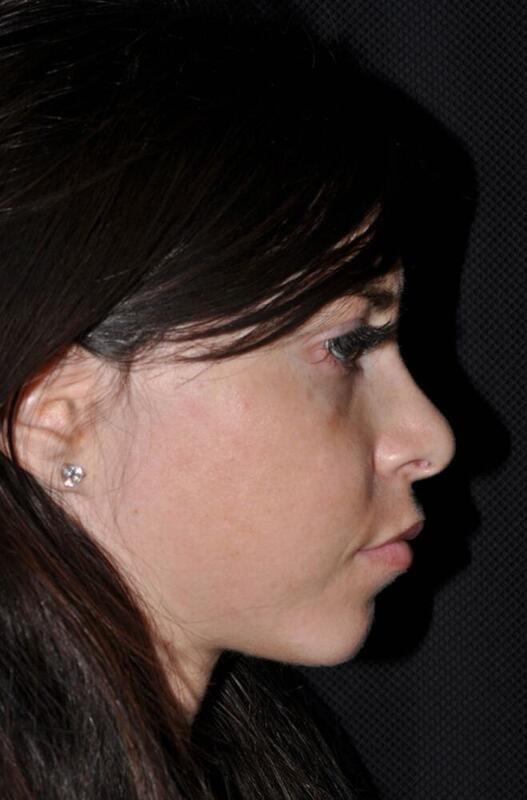 AfterHass Plastic Surgery & MedSpaPalm Beach Gardens, FLPractice-published
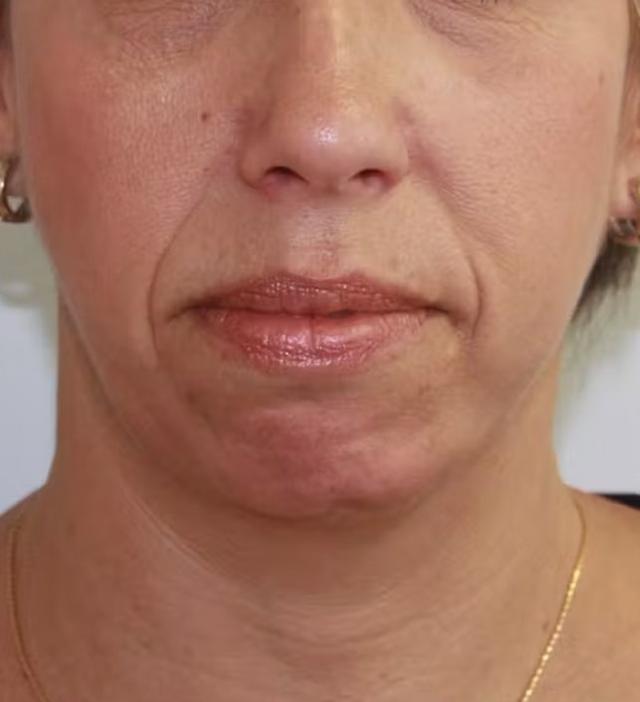 Before
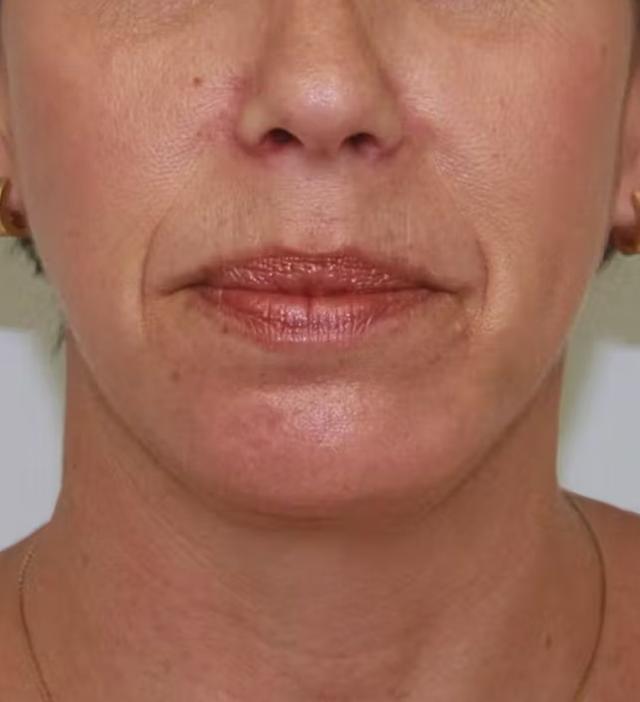 AfterPalm Beach Facial Plastic SurgeryPalm Beach Gardens, FLPractice-published
 Before
 AfterBitner Facial Plastic Surgery of UtahLayton, UTPractice-published
 ResultLine Plastic Surgery IrvineIrvine, CAPractice-published
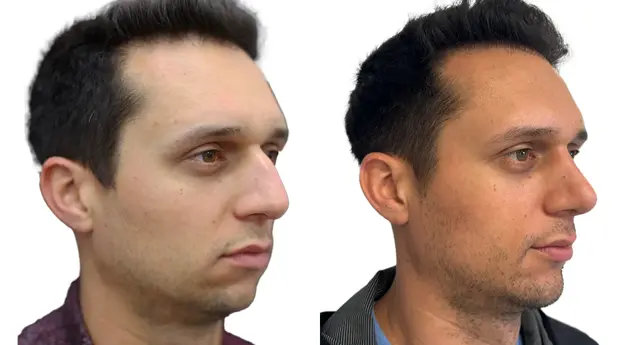 ResultGiriraj K. Sharma, MD - Facial Plastic SurgeryNewport Beach, CA
Read these photos well
A chin change shows most from the side. Compare where the chin sits against the lips and the nose.
Follow the line from the chin back toward the angle of the jaw. Look for one smooth curve.
Tilting the head down or pushing the chin forward changes a profile. Check that both photos match.
Some cases include nose or neck work too. Ask what else was done before you credit the chin alone.
333 chin implant results from 73 practices in 17 states.
Sorted by how many results each practice has published on Afters.
See what speaks to you
You do not need the perfect words yet. Browse chin implant before and afters and save the ones that feel relevant to your body, your taste, or the change you have in mind.
Build my shortlistFrom our chin implant guides
Every answer names its source. Each guide shows the prices, studies and patient videos behind it.
Who it suits
A chin implant adds solid material over the chin bone to increase chin size and projection, according to ASPS and Cleveland Clinic. Chin augmentation is the broader goal; mentoplasty and genioplasty are also used for chin reshaping, including operations on the bone. An implant changes contour without moving the tooth-bearing jaw.
Chin implant
Solid materialASPS patient education
Chin filler
Temporary volumeProduct-specific FDA labels
What it costs
For chin implant cost, the middle half of practices’ own posted implant-alone starting points falls from $4,500 to $7,000, across 47 implant-only practice websites checked October 16, 2026.
Middle half of posted starts
$4,500 to $7,00047 practice websites; nearest-rank quartiles; October 16, 2026
Own-fee implant observations
50Different fee bases, not patient bills
Recovery
Chin implant recovery usually allows a return to work within a week according to ASPS, while University of Utah Health describes implant healing over 2–4 weeks. Chin augmentation can still look swollen after those milestones.
Work, ASPS
Within a weekImplant augmentation education; checked October 16, 2026; no measured cohort.
Healing, Utah
2–4 weeksImplant-specific education, not final shape; checked October 16, 2026.
You know more now. Compare several chin implant results from each practice and ask what made each one possible.
BeforeAfterJordan L. Wallin, MDSt. George, UTPractice-publishedBeforeAfterHass Plastic Surgery & MedSpaPalm Beach Gardens, FLPractice-publishedBeforeAfterPalm Beach Facial Plastic SurgeryPalm Beach Gardens, FLPractice-publishedBeforeAfterBitner Facial Plastic Surgery of UtahLayton, UTPractice-publishedResultLine Plastic Surgery IrvineIrvine, CAPractice-publishedResultGiriraj K. Sharma, MD - Facial Plastic SurgeryNewport Beach, CAPractice-published ResultBatniji Facial Plastic SurgeryNewport Beach, CAPractice-published
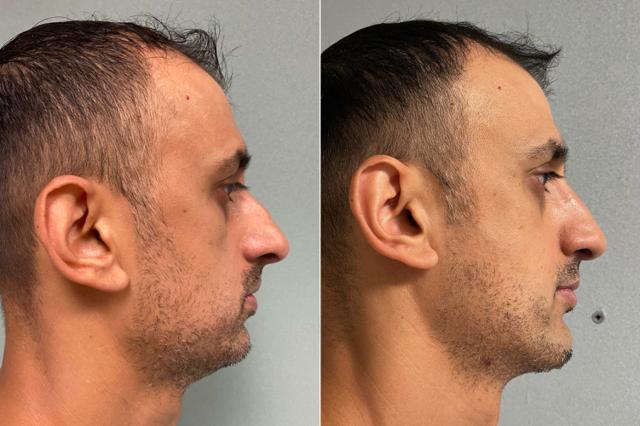 ResultSoCal Aesthetic SurgeryIrvine, CAPractice-published
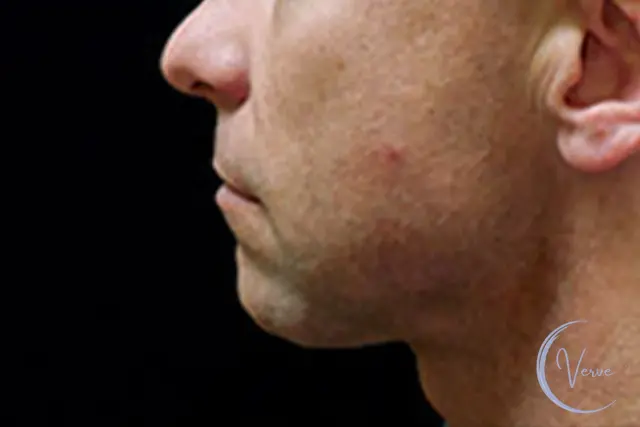 Before
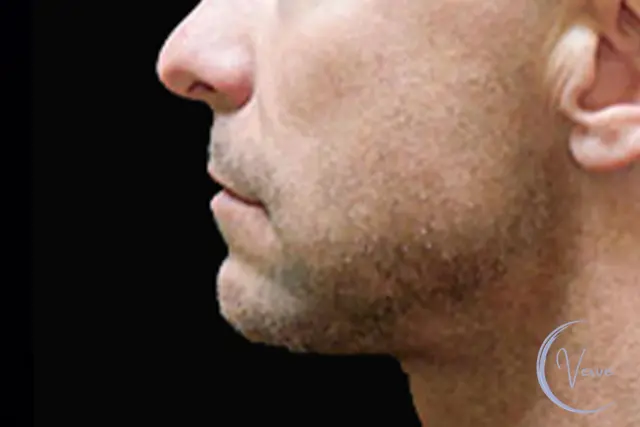 AfterVerve Plastic SurgeryEncinitas, CAPractice-published
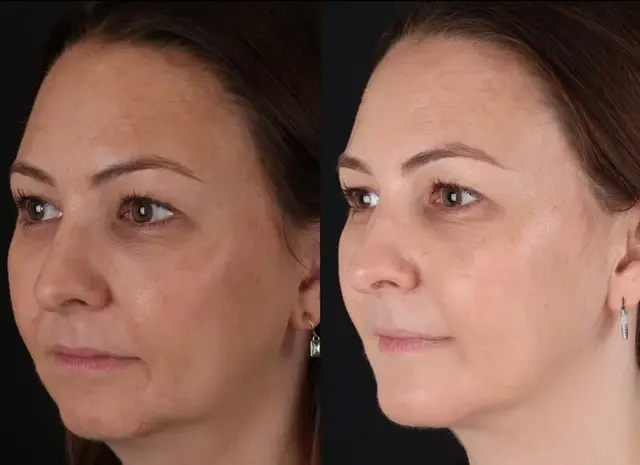 ResultJohn M. Shamoun, M.D. FACS - Newport Beach Plastic SurgeryNewport Beach, CAPractice-published
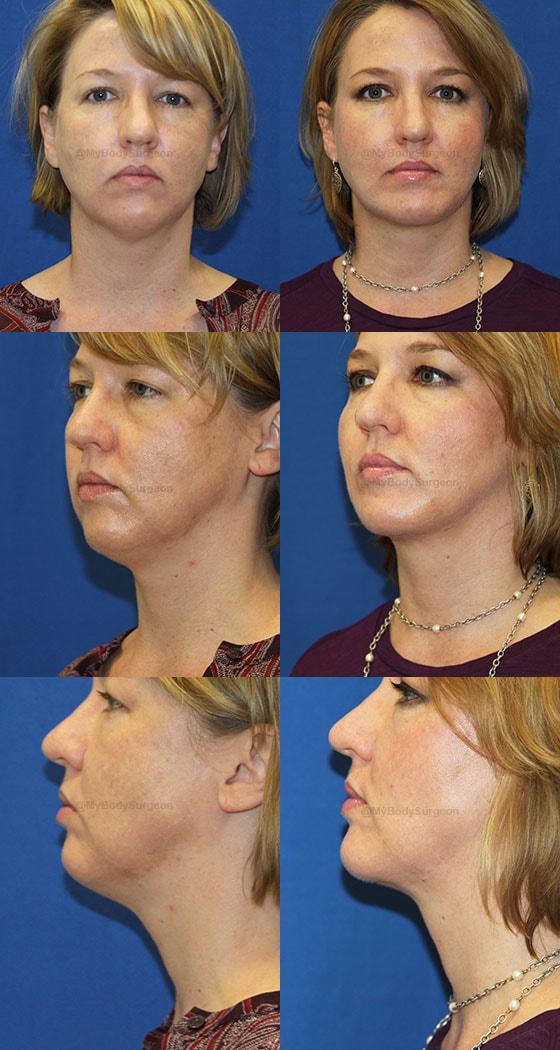 ResultSugar Land Plastic SurgerySugar Land, TXPractice-published
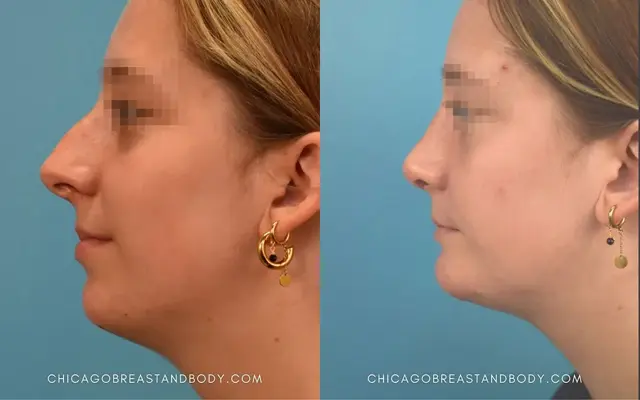 ResultChicago Aesthetics Surgery & Med SpaChicago, IL

Bring the questions, a short prep list, and one page for the answers you want to remember. Save it to your phone or print it before the consultation.
Personalized for your Chin Implant consultation
Consultation cheat sheet
Personal planning edition
Before you go
Notes to bring home
Research on appearance bias
Compare several results from each practice. Then check the provider, consultation, travel, and follow-up plan.
 1Mabrie Facial InstituteSan Francisco, CA
 2Armen Vartany, MD, FACS: Plastic Surgery and Laser CenterBurbank, CA
 3Herte Center for Cosmetic SurgeryLas Vegas, NV
 4Yirae Ort MD Facial Aesthetic SurgeryBellevue, WA
Use these answers for a first pass. A qualified surgeon still needs to examine you, hear what you want, and explain the tradeoffs.
Each result is tied to the practice that supplied or published it. Afters does not independently verify every consent record, image history, surgeon, or outcome. If a case matters to you, ask the practice who performed it, when the photos were taken, and whether the patient gave permission for publication.
The useful after photos are taken once swelling has settled, often well after the 1 week downtime window. Early afters can look tight, high, or puffy. Ask when every photo was taken.
Start with befores that share relevant features, then compare consistent angles, similar starting point, natural transitions. Published examples help you form questions; they do not verify the treating provider or predict your outcome.
Your anatomy, skin, and treatment plan shape the outcome. Use these photos to find a direction, then ask a surgeon what is realistic for you.
Open the profile that published a result you like and compare several examples. Then ask who treated each case, whether it is comparable to yours, and how the image was documented.
Keep doing the homework

A few saved photos are enough. Choose results that feel right for your starting point and your taste, then bring them into a consultation. Nothing goes to a practice until you share it.
Show me relevant resultsPrivate until you choose to share