


11,255
before & after photo sets
Compare the starting point as carefully as the breast augmentation result.
 Sign in
Your private starting plan
Tell us what you’re considering once. We’ll organize relevant results, realistic planning details, and practices to explore.
Start your intakeNo account needed to begin. Nothing goes to a practice until you choose.





Compare the starting point as carefully as the breast augmentation result.
50 practice websites. The cost guide shows what practices post, one price at a time.
; education, no measured cohort. Downtime is not the same as a settled result. The recovery guide goes week by week.
Active practices with breast augmentation photos published on Afters.
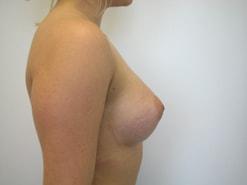
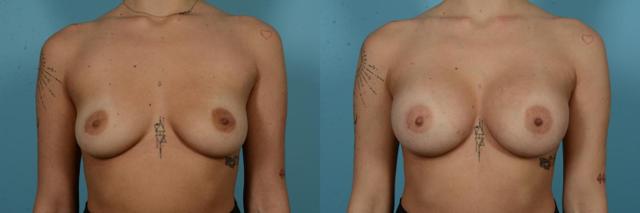
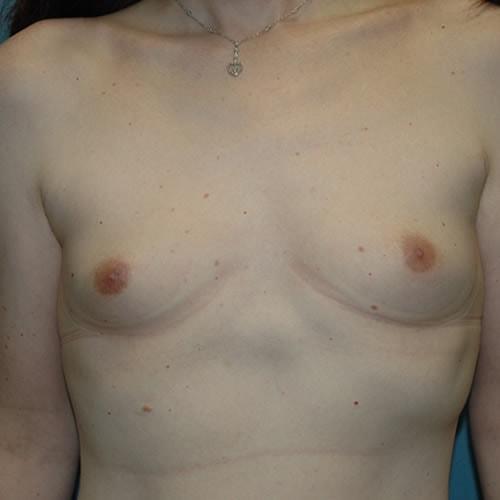
Begin with the before. Look for a starting point that resembles yours, then check the angle, lighting, timing, and practice that published the result.
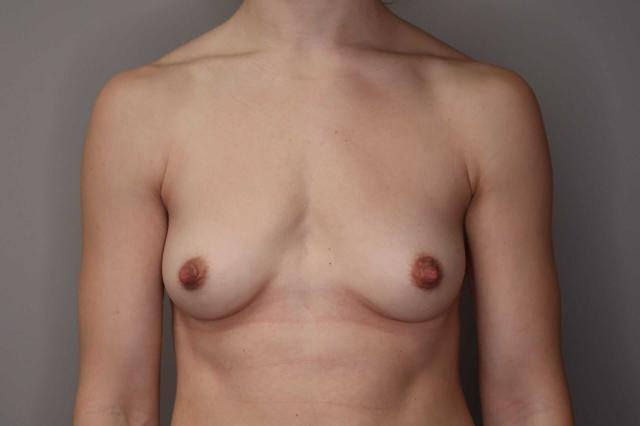 Before
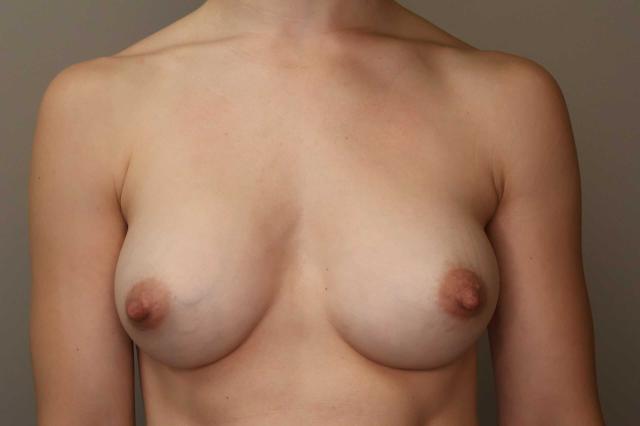 AfterGilson Plastic SurgeryPortland, ORPractice-published
 ResultJonathan Hutter, MDMaple Valley, WAPractice-published
 ResultJohn S. Lee, MDBeaverton, ORPractice-published
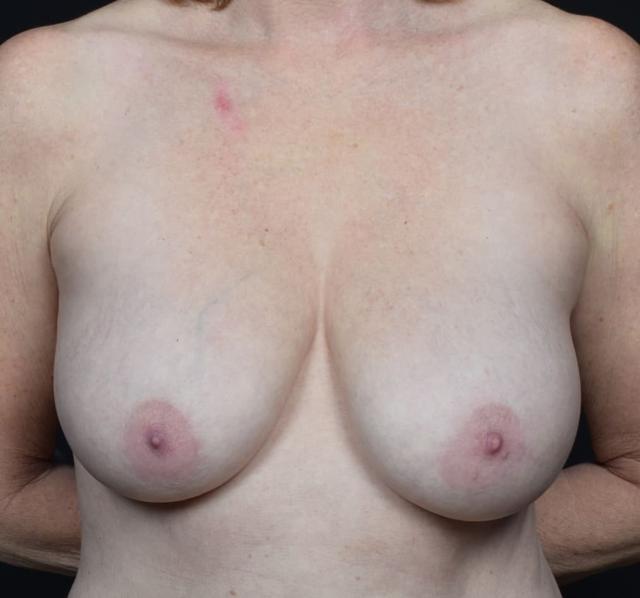 Before
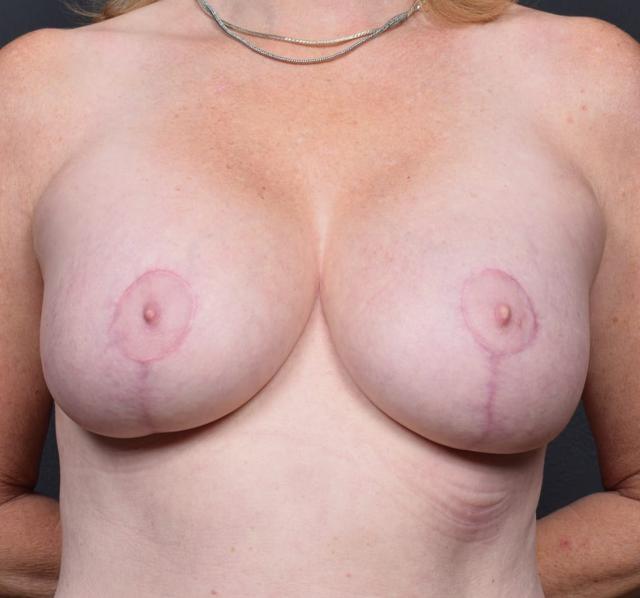 AfterSamuel V. Bartholomew, MD, FACSPortland, ORPractice-published
 ResultMurphy Plastic Surgery GroupEnglewood, COPractice-published
 Before
 AfterJeremy Williams, MDLone Tree, COPractice-published
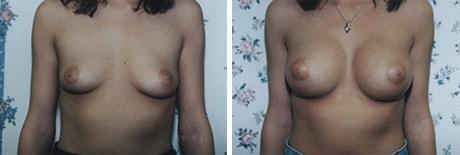 ResultBohley Plastic Surgery CenterPortland, ORPractice-published
 ResultJoyce Aycock, MDDenver, COPractice-published
 Before
 AfterDami Lee, DODenver, COPractice-published
 ResultAnderson Sobel Cosmetic SurgeryBellevue, WAPractice-published
 ResultLynn Chung, MDPuyallup, WAPractice-published
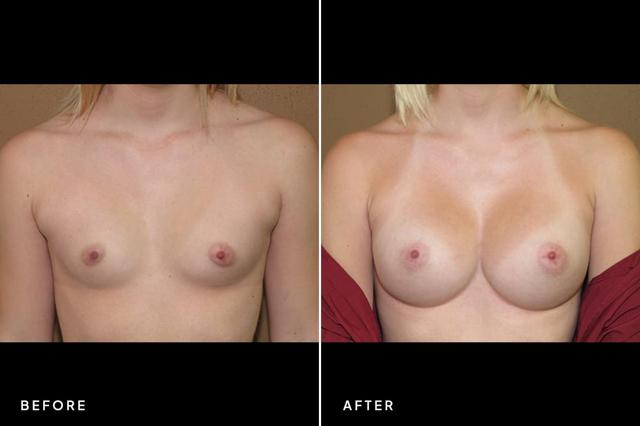 ResultNew Horizons Center for Cosmetic Surgery (Gregory A. Turowski, MD)Skokie, IL
Read these photos well
Judge the result against the shoulders, ribcage and waist, not on its own.
In the side view, follow the line from the collarbone to the nipple. It shows how full the upper breast is.
Compare the gap between the breasts and whether the two sides match.
Raised arms and a closer camera change how breasts look. Compare pairs taken the same way.
11,255 breast augmentation results from 559 practices in 38 states.
Sorted by how many results each practice has published on Afters.
See what speaks to you
You do not need the perfect words yet. Browse breast augmentation before and afters and save the ones that feel relevant to your body, your taste, or the change you have in mind.
Build my shortlistFrom our breast augmentation guides
Every answer names its source. Each guide shows the prices, studies and patient videos behind it.
Who it suits
Breast augmentation with implants adds breast volume using saline-filled or silicone gel-filled devices, according to ASPS and FDA guidance checked October 16, 2026. It can address a desire for larger breasts or a change in fullness, but the examination must separate volume from skin and nipple position.
Silicone cosmetic labeling
22 or olderFDA device indications
Silicone rupture screening
5–6 years firstFDA; then every 2–3 years
What it costs
Breast augmentation cost in Afters’ reading of practices’ own posted silicone starting points has a middle half from $6,495 to $8,810 across 50 practice websites, and a separate saline middle half from $5,500 to $7,900 across 39 websites, checked October 16, 2026. These are advertisements with differing fee inclusions.
Silicone middle half
$6,495–$8,81050 practice websites
Saline middle half
$5,500–$7,90039 practice websites
Recovery
Cleveland Clinic’s August 24, 2021 breast augmentation guide estimates about 6–8 weeks for full recovery, while the Aesthetic Society describes roughly 1–2 weeks of recovery without defining that as unrestricted activity. Those estimates answer different questions.
Full recovery • Cleveland, 2021
6–8weeks; education, no measured cohort
Drop and fluff • Mariotti, 2022
3–6months; surgeon’s estimate
You know more now. Compare several breast augmentation results from each practice and ask what made each one possible.
ResultBohley Plastic Surgery CenterPortland, ORPractice-publishedResultJoyce Aycock, MDDenver, COPractice-publishedBeforeAfterDami Lee, DODenver, COPractice-publishedResultAnderson Sobel Cosmetic SurgeryBellevue, WAPractice-publishedResultLynn Chung, MDPuyallup, WAPractice-publishedResultNew Horizons Center for Cosmetic Surgery (Gregory A. Turowski, MD)Skokie, ILPractice-published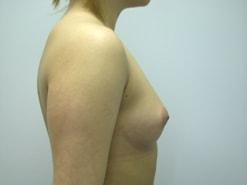 Before
 AfterThe Art of Plastic Surgery (Gregory A. Wiener, MD)Chicago, ILPractice-published
 ResultTLKM Plastic Surgery (Sammy Sinno, MD)Chicago, ILPractice-published
 Before
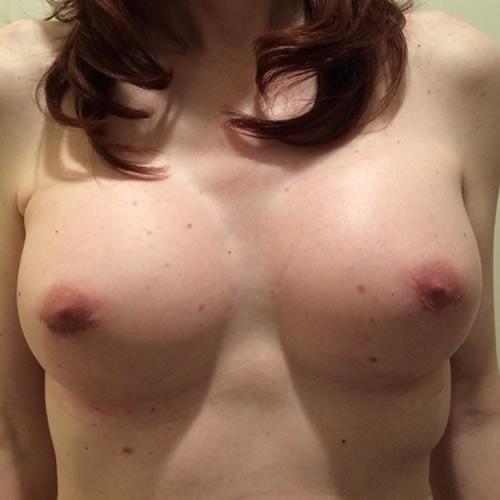 AfterThe Zukowski Center For Cosmetic Plastic SurgeryWilmette, ILPractice-published
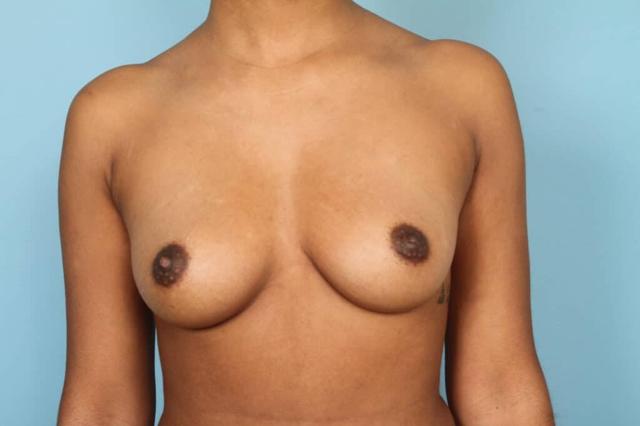 Before
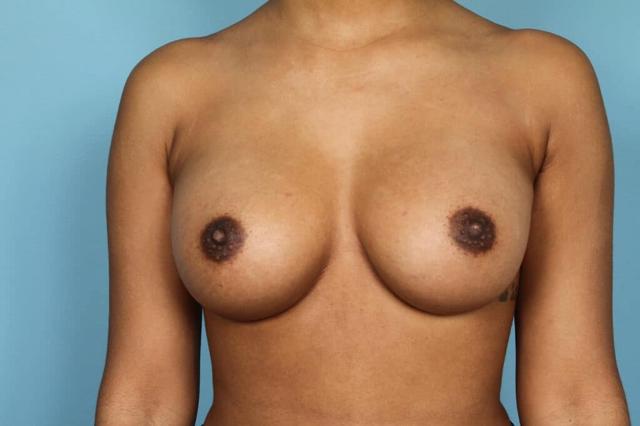 AfterMarco Ellis, MDChicago, ILPractice-published
 ResultRemington Plastic SurgeryKirkland, WAPractice-published
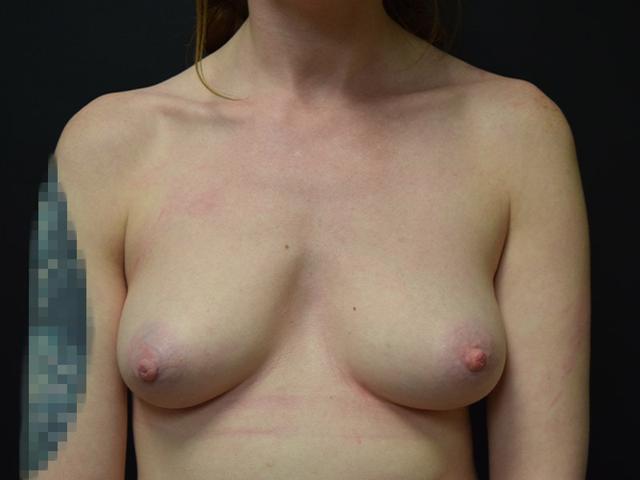 Before
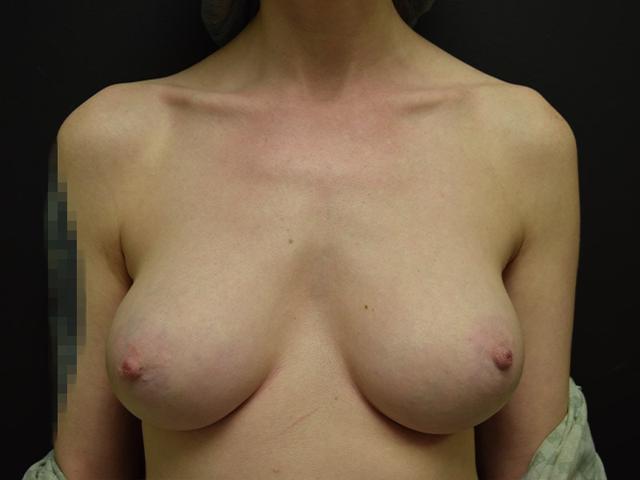 AfterMeghan Nadeau, MDSeattle, WA

Bring the questions, a short prep list, and one page for the answers you want to remember. Save it to your phone or print it before the consultation.
Personalized for your Breast Augmentation consultation
Consultation cheat sheet
Personal planning edition
Before you go
Notes to bring home
Research on appearance bias
Compare several results from each practice. Then check the provider, consultation, travel, and follow-up plan.
 1Gilson Plastic SurgeryPortland, OR
 2Jonathan Hutter, MDMaple Valley, WA
 3John S. Lee, MDBeaverton, OR
 4Samuel V. Bartholomew, MD, FACSPortland, OR
Use these answers for a first pass. A qualified surgeon still needs to examine you, hear what you want, and explain the tradeoffs.
Each result is tied to the practice that supplied or published it. Afters does not independently verify every consent record, image history, surgeon, or outcome. If a case matters to you, ask the practice who performed it, when the photos were taken, and whether the patient gave permission for publication.
The useful after photos are taken once swelling has settled, often well after the 1 week downtime window. Early afters can look tight, high, or puffy. Ask when every photo was taken.
Start with befores that share relevant features, then compare frame fit, upper-pole slope, cleavage distance. Published examples help you form questions; they do not verify the treating provider or predict your outcome.
Your anatomy, skin, and treatment plan shape the outcome. Use these photos to find a direction, then ask a surgeon what is realistic for you.
Open the profile that published a result you like and compare several examples. Then ask who treated each case, whether it is comparable to yours, and how the image was documented.
Keep doing the homework

A few saved photos are enough. Choose results that feel right for your starting point and your taste, then bring them into a consultation. Nothing goes to a practice until you share it.
Show me relevant resultsPrivate until you choose to share