


859
before & after photo sets
Compare the starting point as carefully as the arm lift result.
 Sign in
Your private starting plan
Tell us what you’re considering once. We’ll organize relevant results, realistic planning details, and practices to explore.
Start your intakeNo account needed to begin. Nothing goes to a practice until you choose.












Compare the starting point as carefully as the arm lift result.
The cost guide shows what practices post, one price at a time.
Aesthetic Society aftercare; individual clearance. Downtime is not the same as a settled result. The recovery guide goes week by week.
Active practices with arm lift photos published on Afters.
Begin with the before. Look for a starting point that resembles yours, then check the angle, lighting, timing, and practice that published the result.
 Before
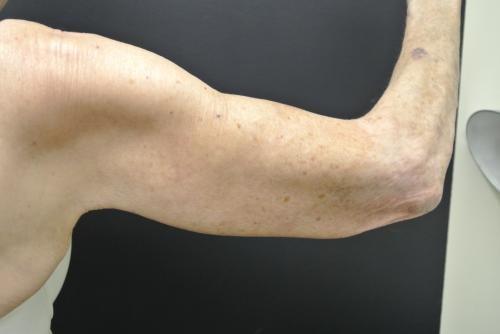 AfterJune S. Chen, M.D., P.C.Salt Lake City, UTPractice-published
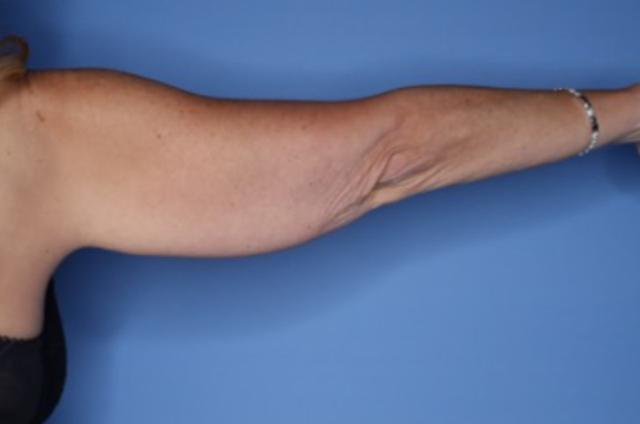 Before
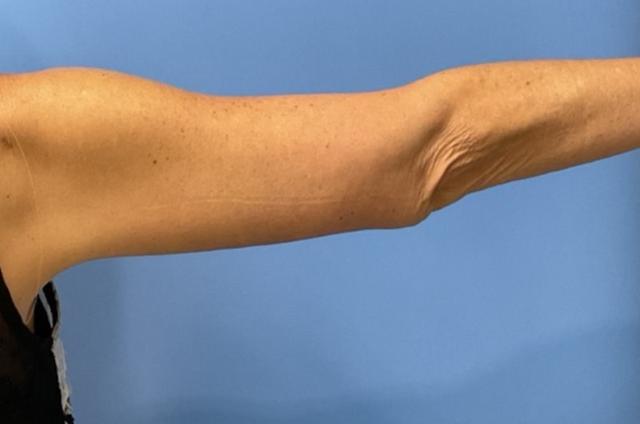 AfterAndrew Smith, MD, FACSIrvine, CAPractice-published
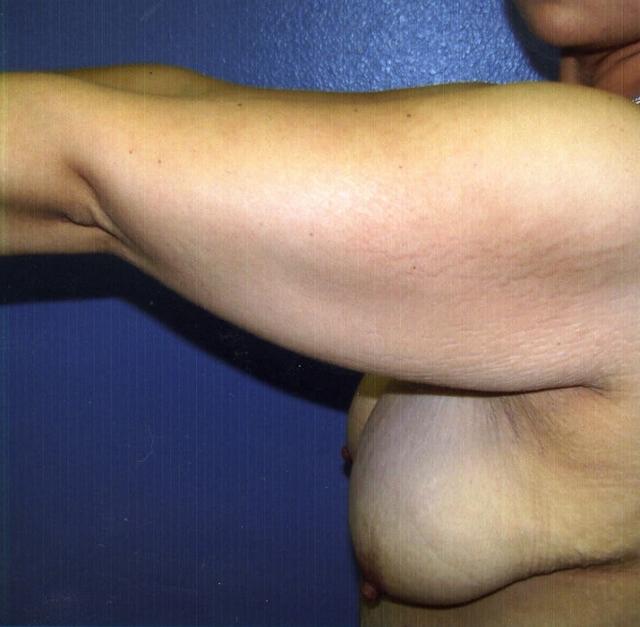 Before
 AfterHankins & Sohn Plastic Surgery AssociatesHenderson, NVPractice-published
 Before
 AfterBernard A. Shuster, MD, FACSHollywood, FLPractice-published
 ResultBlaine Plastic SurgeryNew York, NYPractice-published
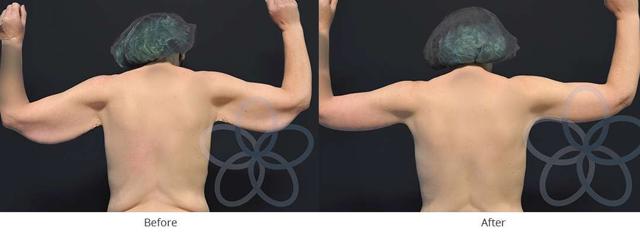 ResultNewvue Plastic SurgeryBellevue, WAPractice-published
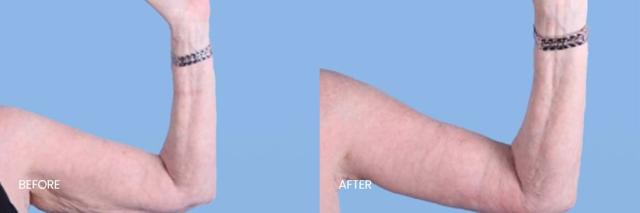 ResultNorth Texas Plastic SurgeryDallas, TXPractice-published
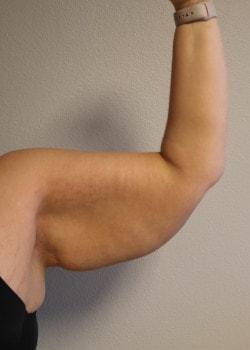 Before
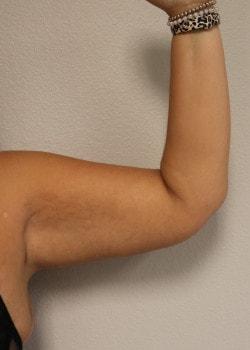 AfterKelly R. Kunkel, MD, PAFort Worth, TXPractice-published
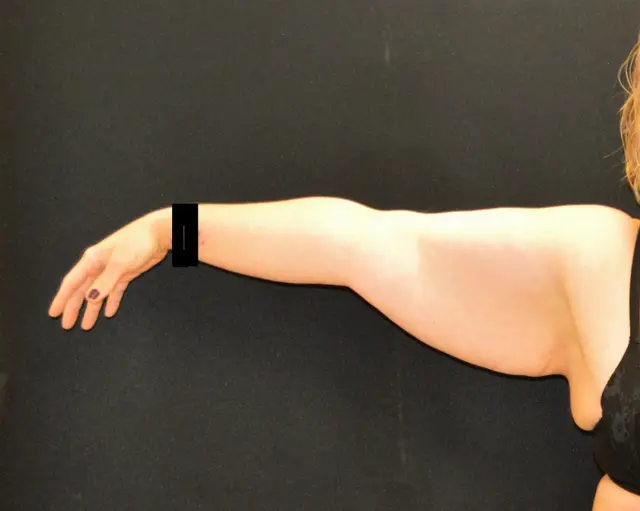 Before
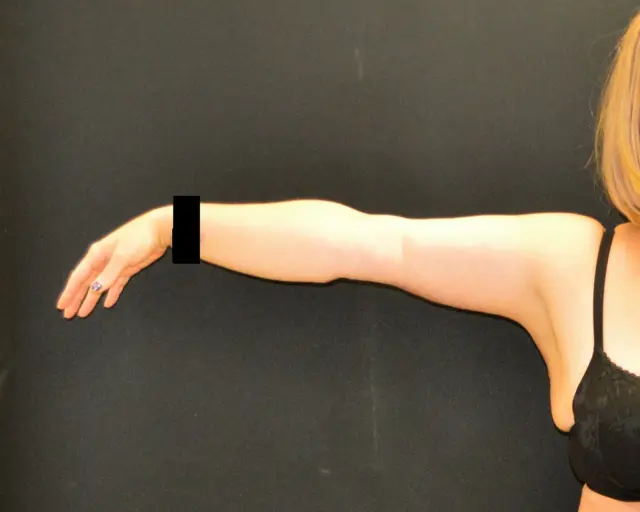 AfterCampanile Plastic SurgeryDenver, COPractice-published
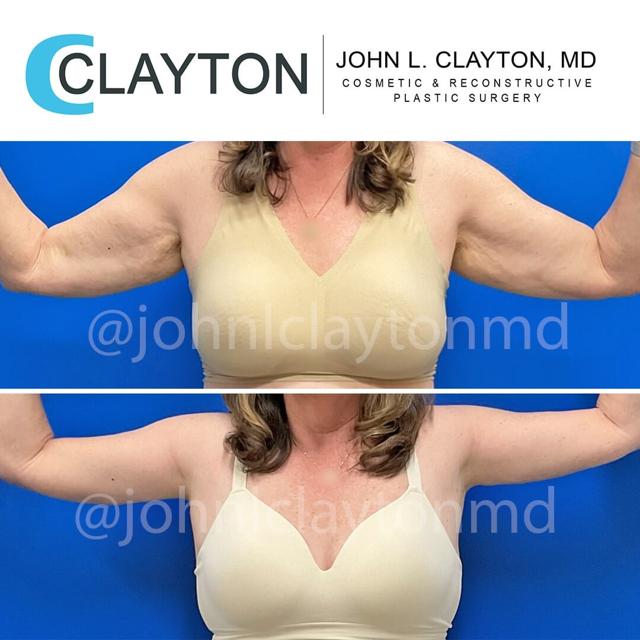 ResultJohn L Clayton MDCottonwood Heights, UTPractice-published
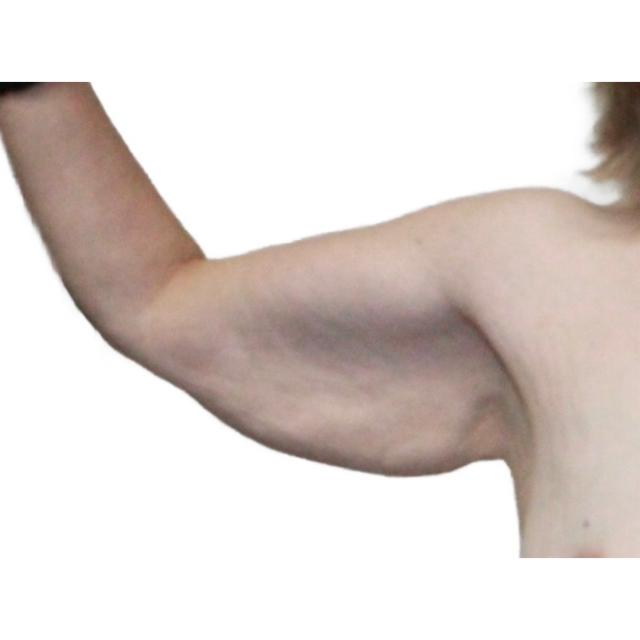 Before
 AfterDr. Nataliya BiskupWichita, KSPractice-published
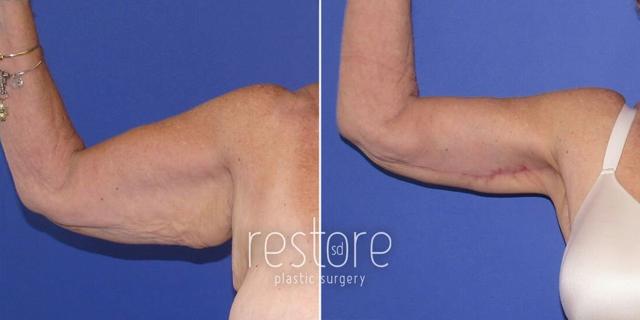 ResultRestore SD Plastic Surgery: Katerina Gallus, MD, FACSSan Diego, CA
Read these photos well
Compare how much skin hangs below the upper arm in the before, and the contour in the after.
The incision runs along the inner or back of the arm, sometimes into the armpit. Look at where it sits and how it healed.
A raised or bent arm can hide or exaggerate loose skin. Compare pairs where the arm is posed the same.
Scars change as they heal. Ask how long after surgery the after was taken.
859 arm lift results from 145 practices in 31 states.
Sorted by how many results each practice has published on Afters.
See what speaks to you
You do not need the perfect words yet. Browse arm lift before and afters and save the ones that feel relevant to your body, your taste, or the change you have in mind.
Build my shortlistFrom our arm lift guides
Every answer names its source. Each guide shows the prices, studies and patient videos behind it.
Who it suits
An arm lift, also called brachioplasty, removes excess sagging upper-arm skin and reshapes the area between the armpit and elbow, according to the American Society of Plastic Surgeons (ASPS). Fat removal and internal supporting sutures may be part of the operation. The central trade is less hanging skin in exchange for an incision scar.
Different areas of skin removal
Full, mini, extended
Placement and quality vary
A lasting scar
What it costs
Arm lift cost falls between $7,500 and $11,000 in Afters’ recheck for the middle half of 111 practices’ own posted starting points for “arm lift” or “brachioplasty” without a named scope, checked October 18, 2026. Only 14 full-scope practices qualify, below our 30-practice threshold, so full and mini prices have their own figures below.
Middle half · 111 unspecified-scope practices
$7,500–$11,000
Separate full-scope own prices
14
Recovery
Arm lift recovery generally needs at least 1–2 weeks before returning to work, according to the Aesthetic Society’s aftercare guidance, while its heavy-lifting restrictions can last up to 6 weeks and scars take at least 9–12 months to flatten and lighten.
At least, to work
1–2 weeksAesthetic Society aftercare; individual clearance
Heavy lifting delay
Up to 6 weeksAesthetic Society; separate activity milestone
You know more now. Compare several arm lift results from each practice and ask what made each one possible.
ResultNorth Texas Plastic SurgeryDallas, TXPractice-publishedBeforeAfterKelly R. Kunkel, MD, PAFort Worth, TXPractice-publishedBeforeAfterCampanile Plastic SurgeryDenver, COPractice-publishedResultJohn L Clayton MDCottonwood Heights, UTPractice-publishedBeforeAfterDr. Nataliya BiskupWichita, KSPractice-publishedResultRestore SD Plastic Surgery: Katerina Gallus, MD, FACSSan Diego, CAPractice-published ResultAesthetic Arts Institute of Plastic SurgeryLa Mesa, CAPractice-published
 ResultJon Grazer MD Plastic Surgery & AestheticsNewport Beach, CAPractice-published
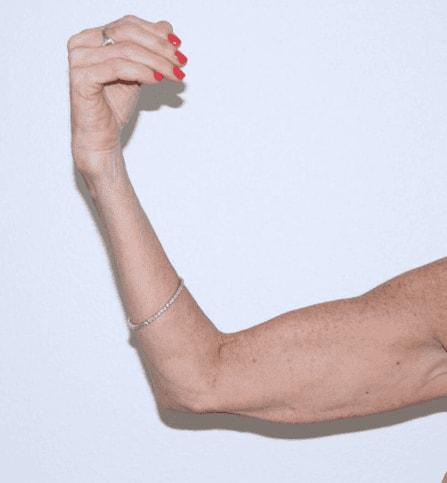 Before
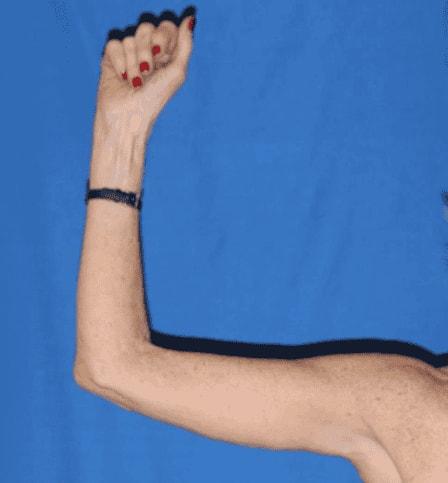 AfterIconic Plastic SurgeryCarlsbad, CAPractice-published
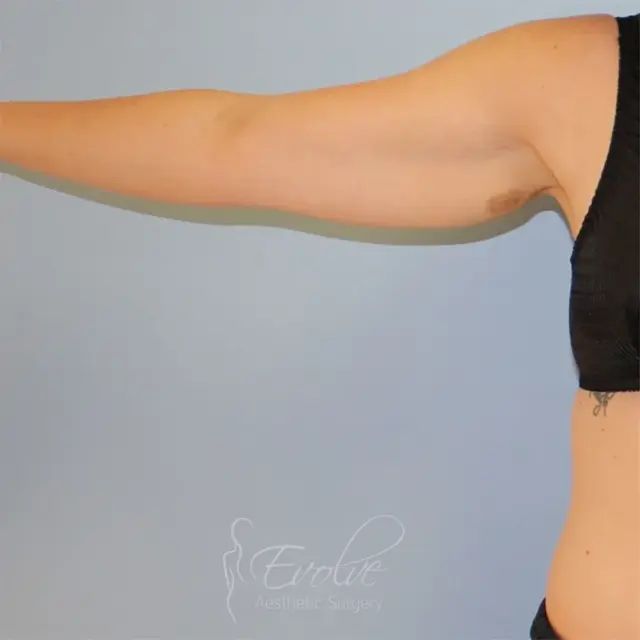 Before
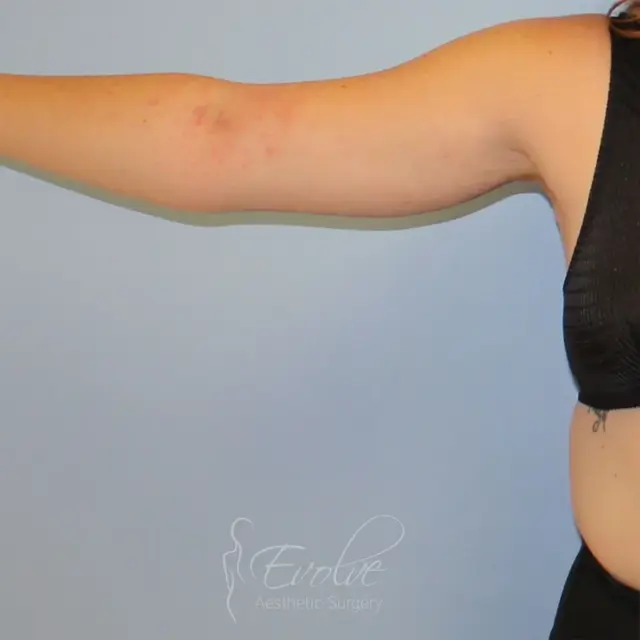 AfterEvolve Aesthetic SurgerySan Diego, CAPractice-published
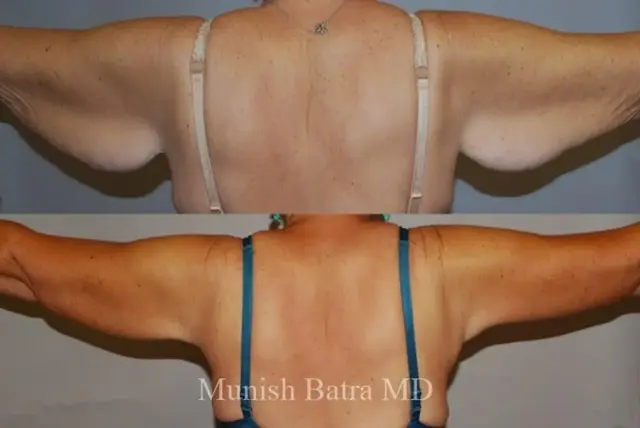 ResultCoastal Plastic SurgeonsSan Diego, CAPractice-published
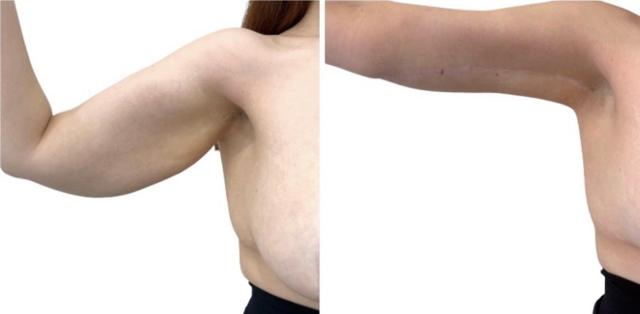 ResultDr. Dana K. KhuthailaNew York, NY

Bring the questions, a short prep list, and one page for the answers you want to remember. Save it to your phone or print it before the consultation.
Personalized for your Arm Lift consultation
Consultation cheat sheet
Personal planning edition
Before you go
Notes to bring home
Research on appearance bias
Compare several results from each practice. Then check the provider, consultation, travel, and follow-up plan.
 1June S. Chen, M.D., P.C.Salt Lake City, UT
 2Andrew Smith, MD, FACSIrvine, CA
 3Hankins & Sohn Plastic Surgery AssociatesHenderson, NV
 4Bernard A. Shuster, MD, FACSHollywood, FL
Use these answers for a first pass. A qualified surgeon still needs to examine you, hear what you want, and explain the tradeoffs.
Each result is tied to the practice that supplied or published it. Afters does not independently verify every consent record, image history, surgeon, or outcome. If a case matters to you, ask the practice who performed it, when the photos were taken, and whether the patient gave permission for publication.
The useful after photos are taken once swelling has settled, often well after the 1-2 weeks downtime window. Early afters can look tight, high, or puffy. Ask when every photo was taken.
Start with befores that share relevant features, then compare consistent angles, similar starting point, natural transitions. Published examples help you form questions; they do not verify the treating provider or predict your outcome.
Your anatomy, skin, and treatment plan shape the outcome. Use these photos to find a direction, then ask a surgeon what is realistic for you.
Open the profile that published a result you like and compare several examples. Then ask who treated each case, whether it is comparable to yours, and how the image was documented.
Keep doing the homework

A few saved photos are enough. Choose results that feel right for your starting point and your taste, then bring them into a consultation. Nothing goes to a practice until you share it.
Show me relevant resultsPrivate until you choose to share