


413
before & after photo sets
Compare the starting point as carefully as the fat transfer result.
 Sign in
Your private starting plan
Tell us what you’re considering once. We’ll organize relevant results, realistic planning details, and practices to explore.
Start your intakeNo account needed to begin. Nothing goes to a practice until you choose.









Compare the starting point as carefully as the fat transfer result.
Face-only lower amounts. The cost guide shows what practices post, one price at a time.
Stanford; no measured cohort; checked October 2026. Downtime is not the same as a settled result. The recovery guide goes week by week.
Active practices with fat transfer photos published on Afters.
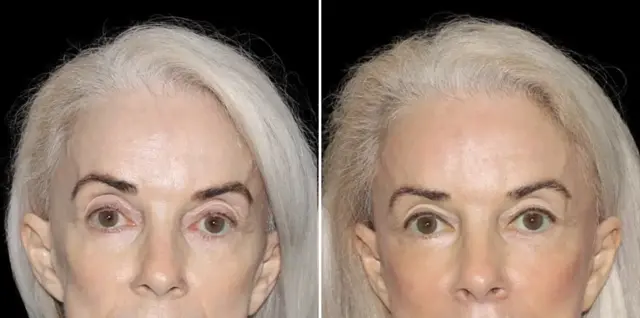
Begin with the before. Look for a starting point that resembles yours, then check the angle, lighting, timing, and practice that published the result.
 ResultDr. Anthony S. Youn, MDTroy, MIPractice-published
 Before
 AfterLe Spa Plastic SurgeryOakland Park, FLPractice-published
 ResultMD Plastic SurgeryScottsdale, AZPractice-published
 Before
 AfterCARE Plastic SurgeryCary, NCPractice-published
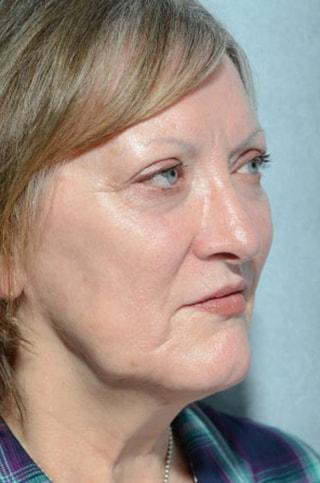 Before
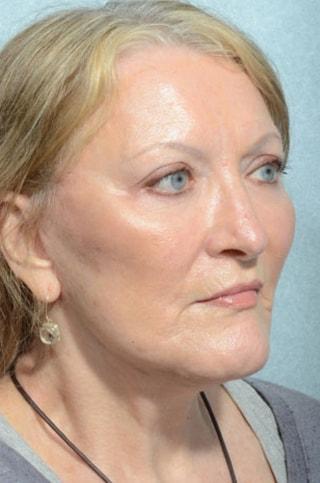 AfterChegar Facial Plastic SurgeryCarmel, INPractice-published
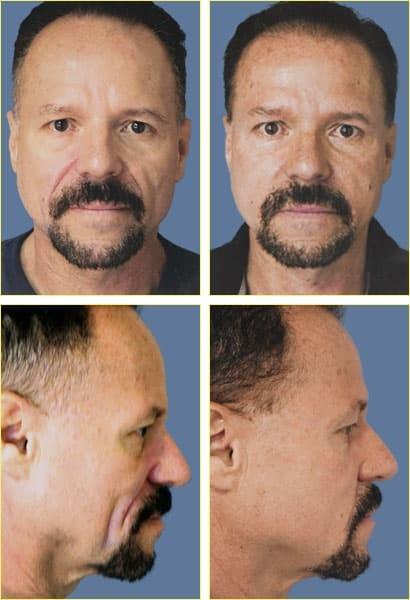 ResultRex Moulton-Barrett, MD Plastic Surgery & MediSpaAlameda, CAPractice-published
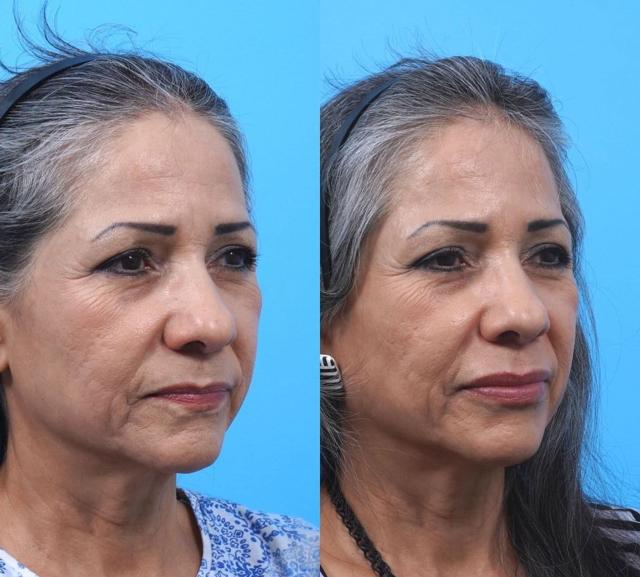 ResultKismet Iorio Surgical SculptingSalt Lake City, UTPractice-published
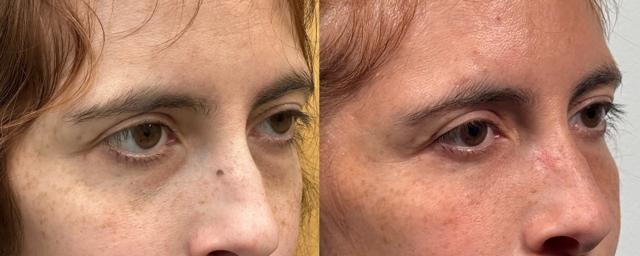 ResultEyelid Center of UtahHeber City, UTPractice-published
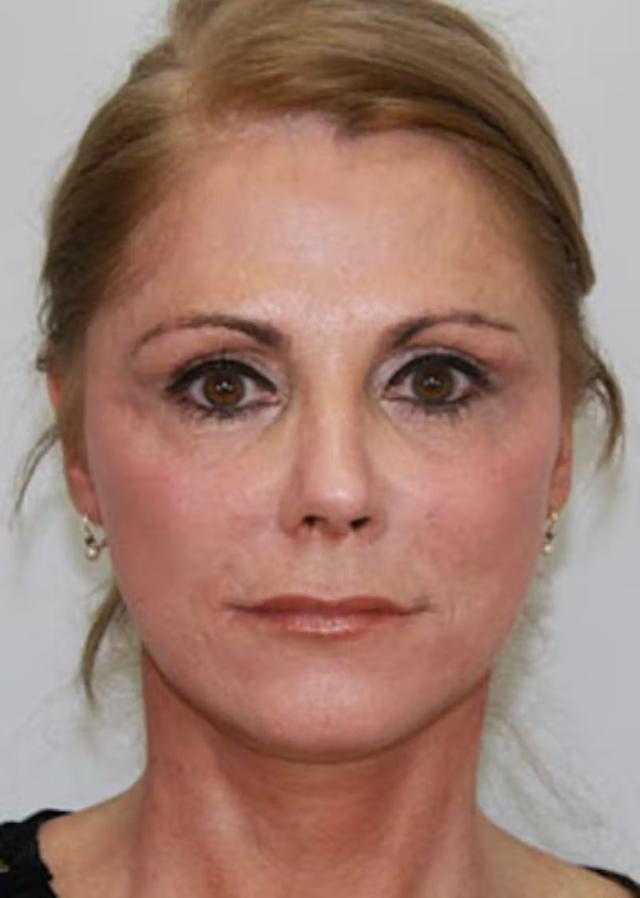 Before
 AfterPalm Beach Facial Plastic SurgeryPalm Beach Gardens, FLPractice-published
 Before
 AfterHilton Becker, MDBoca Raton, FLPractice-published
 ResultZuliani Facial Aesthetics: Dr. Giancarlo F. Zuliani, MDBloomfield Hills, MIPractice-published
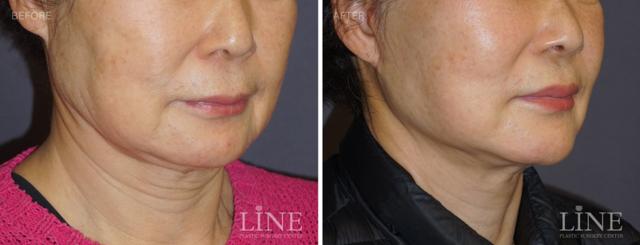 ResultLine Plastic Surgery IrvineIrvine, CA
Read these photos well
Fat transfer changes two places, where fat was taken and where it was added. Look at both.
Added volume should blend into the area around it, without a ridge or a sudden edge.
Transferred volume can change as it settles. Ask how long after treatment the after was taken.
Volume shows most clearly from the side and at an angle. Compare views taken the same way.
413 fat transfer results from 82 practices in 22 states.
Sorted by how many results each practice has published on Afters.
See what speaks to you
You do not need the perfect words yet. Browse fat transfer before and afters and save the ones that feel relevant to your body, your taste, or the change you have in mind.
Build my shortlistFrom our fat transfer guides
Every answer names its source. Each guide shows the prices, studies and patient videos behind it.
Who it suits
Fat transfer, also called fat grafting, fat injection or lipofilling, moves your own fat from a donor area to an area needing volume, according to Cleveland Clinic and the Aesthetic Society. The Society describes three stages, harvesting, purification and placement, in education checked October 16, 2026.
Harvested tissue
Your own fatDonor and recipient sites
Lasting volume
VariableMeasurement and follow-up matter
What it costs
Afters’ check of practices’ own posted face fat transfer prices puts the middle half of lower amounts between $3,995 and $6,300 across 88 eligible price rows from 71 named practices, checked October 16, 2026, using nearest-rank quartiles.
Posted middle
$3,995–$6,300Face-only lower amounts
Price rows
8871 named practices
Recovery
Fat transfer recovery can mean 3–7 days before a desk job, according to Stanford Medicine, while the Aesthetic Society advises planning at least 2 weeks off and several months before judging results. Fat grafting leaves both a facial recipient area and a liposuction donor area to heal.
Desk work
3–7 daysStanford; no measured cohort; checked October 2026
Time off to plan
At least 2 weeksAesthetic Society; education, checked October 2026
You know more now. Compare several fat transfer results from each practice and ask what made each one possible.
ResultKismet Iorio Surgical SculptingSalt Lake City, UTPractice-publishedResultEyelid Center of UtahHeber City, UTPractice-publishedBeforeAfterPalm Beach Facial Plastic SurgeryPalm Beach Gardens, FLPractice-publishedBeforeAfterHilton Becker, MDBoca Raton, FLPractice-publishedResultZuliani Facial Aesthetics: Dr. Giancarlo F. Zuliani, MDBloomfield Hills, MIPractice-publishedResultLine Plastic Surgery IrvineIrvine, CAPractice-published ResultYour Cosmetic OfficeEncinitas, CAPractice-published
 ResultSoCal Aesthetic SurgeryIrvine, CAPractice-published
 Before
 AfterMira Aesthetic Cosmetic Surgery Center - Dr. MirrafatiCosta Mesa, CAPractice-published
 ResultPROFILES Beverly HillsBeverly Hills, CAPractice-published
 ResultLadner Facial Plastic SurgeryGreenwood Village, COPractice-published
 ResultAssociates in Plastic SurgeryVirginia Beach, VA
Bring the questions, a short prep list, and one page for the answers you want to remember. Save it to your phone or print it before the consultation.
Personalized for your Fat Transfer consultation
Consultation cheat sheet
Personal planning edition
Before you go
Notes to bring home
Research on appearance bias
Compare several results from each practice. Then check the provider, consultation, travel, and follow-up plan.
 1Dr. Anthony S. Youn, MDTroy, MI
 2Le Spa Plastic SurgeryOakland Park, FL
 3MD Plastic SurgeryScottsdale, AZ
 4CARE Plastic SurgeryCary, NC
Use these answers for a first pass. A qualified surgeon still needs to examine you, hear what you want, and explain the tradeoffs.
Each result is tied to the practice that supplied or published it. Afters does not independently verify every consent record, image history, surgeon, or outcome. If a case matters to you, ask the practice who performed it, when the photos were taken, and whether the patient gave permission for publication.
The useful after photos are taken once swelling has settled. Early afters can look tight, high, or puffy. Ask when every photo was taken.
Start with befores that share relevant features, then compare soft transitions, proportion, not just size, donor-area tradeoffs. Published examples help you form questions; they do not verify the treating provider or predict your outcome.
Your anatomy, skin, and treatment plan shape the outcome. Use these photos to find a direction, then ask a surgeon what is realistic for you.
Open the profile that published a result you like and compare several examples. Then ask who treated each case, whether it is comparable to yours, and how the image was documented.
Keep doing the homework

A few saved photos are enough. Choose results that feel right for your starting point and your taste, then bring them into a consultation. Nothing goes to a practice until you share it.
Show me relevant resultsPrivate until you choose to share